Learn how to connect a controller to a PC, understand Steam Input, check game features and troubleshoot button prompts, deadzones and duplicate inputs.
A controller can connect to a PC successfully and still behave differently in each game. One title displays Xbox buttons, another recognises a PlayStation pad directly, and a third needs its controls configured before the menus become comfortable to use.
The easiest way to begin is with one controller, one connection and one familiar game. Establish a working setup first, then adjust the controls to suit you. This guide covers the route from connecting a pad to checking Steam Input, stick settings and local multiplayer without making every optional feature a requirement.
Check the Controller and the Game Separately
Write down the controller’s exact model and how it connects. A product family can include versions with different connection options. Next, inspect the game’s controller-support information and any publisher instructions. A device being visible to Windows does not establish which features that particular game supports.
Sony’s DualSense guide documents USB and Bluetooth connections for compatible PCs. It also makes feature support conditional on the game and device. Treat basic input, vibration, adaptive triggers, audio and other extras as separate checks rather than one all-or-nothing compatibility question.
Start with the controller you already have if the game supports it. The first session is a chance to learn whether the layout is comfortable and the controls are reliable. A specialist controller can come later, after you know which limitation you are trying to solve.
| Layer | Check | Typical Question |
|---|---|---|
| Connection | The computer detects the intended physical controller | Does the device appear and stay connected? |
| Input handling | The game or a translation layer interprets the buttons | Are actions correct, duplicated or missing? |
| Game settings | Sensitivity, prompts and bindings suit the player | Can I move, aim and navigate menus comfortably? |
Establish a Reliable Connection First
For an initial test, a supported USB data connection removes the need to diagnose wireless pairing at the same time. Use the manufacturer’s instructions and a cable capable of carrying data. Charging alone is not evidence that the computer is receiving controller input.
If you want Bluetooth, confirm that the computer supports it and follow the controller manufacturer’s pairing procedure. Charge the controller before the session. Record whether a problem happens only wirelessly, only through one USB port or in both situations; those results narrow down the next check.
For DualSense, Sony describes entering pairing mode by holding Create and the PS button while the controller is off, then selecting it in the device’s Bluetooth list. Use the current instructions for your model rather than borrowing the procedure for a different PlayStation controller.
Update firmware through the manufacturer’s supported route where needed. Sony also provides its PlayStation Accessories application for supported PC controller management. Avoid installing several unrelated tools at once when all you need to establish is whether the pad connects and its buttons register.
Understand Steam Input and Native Support
Steam Input is Valve’s system for configuring supported input devices. Its documentation covers controller configuration and game integration. Some games work directly with a controller; other setups use a translation layer to provide input the game understands.
Valve’s emulation guidance explains that Steam Input can present an emulated Xbox controller to a Windows game. That helps explain why a PlayStation pad may produce Xbox-style button prompts. The prompt artwork and the physical controller are related, but they are not necessarily identical.
Choose the simplest supported route for the title. Try its documented defaults before changing global settings. If input fails in one game, inspect that game’s controller configuration and support notes rather than changing every game on the computer.
A useful test is to compare one controlled configuration at a time: the game’s native support, then Steam Input if appropriate. Note the connection type and whether another remapping utility is active. The purpose is to identify a reliable input path, not to keep the maximum number of compatibility tools running together.
Build a First Working Configuration
Valve’s player guide points players to Steam > Settings > Controller to inspect controller settings and detected devices. Some screenshots in that handbook show older client layouts, so use the current client’s labels rather than expecting every illustrated checkbox to remain in the same place.
- Connect one controller and confirm Steam detects it in the controller settings.
- Open a game with documented controller support using its default configuration.
- Test menu navigation, movement, camera control and a basic action in a low-pressure area.
- Check the game’s button prompts against the physical buttons you press.
- Adjust a single binding or setting, then repeat the same action.
- Keep a note of the working setup before experimenting further.
For a first test, a tutorial or practice area is more useful than a ranked match. Test both menus and gameplay: a layout can be pleasant while moving but awkward when opening a map or entering text. Include the actions you use often rather than checking only the face buttons.
If a community configuration is available, read its description before applying it. Check whether it assumes a particular controller, gyro sensor or extra buttons. Keep the original configuration available so you can compare changes instead of rebuilding your setup from memory.
Adjust Sensitivity and Deadzones Deliberately
Sensitivity determines how strongly a movement affects an action such as turning the camera. A deadzone ignores a region of stick movement. They answer different questions: how far you move the stick before an action begins, and how quickly that action responds after it begins.
Begin with the game’s defaults. In a practice area, make a slow turn, a quick turn and a small aim correction. Identify the specific problem before moving a slider. If the camera overshoots a target, that calls for a different experiment from a stick that produces movement while untouched.
Change settings in small, recorded steps. For example, keep sensitivity fixed while trying a deadzone adjustment, then compare the same movement. Altering sensitivity, acceleration, deadzone and camera options together leaves you unable to tell which change helped.
A setting cannot establish whether a controller has a hardware fault. If unwanted movement appears in several games and connection modes, use the manufacturer’s diagnostic and support information. Keep the default values in your notes so an experiment can be reversed easily.
Check Special Features and Button Prompts
Basic controller input and advanced feedback may use different support paths. Sony’s PC accessories FAQ says to check each game’s compatibility notices for DualSense features and specifies a USB requirement for haptic feedback on PC. Check those notices before troubleshooting a feature that the title may not offer.
Use a particular supported scene to evaluate a feature. Expecting an adaptive-trigger effect while standing in a menu is not a useful test. Read what the game implements, select the documented connection and try the action associated with that effect.
For button prompts, think in positions and actions when a game displays another controller’s labels. If the game offers a prompt-style setting, use it. If it does not, write down the few essential actions until the layout becomes familiar, especially when helping someone new to PC gaming.
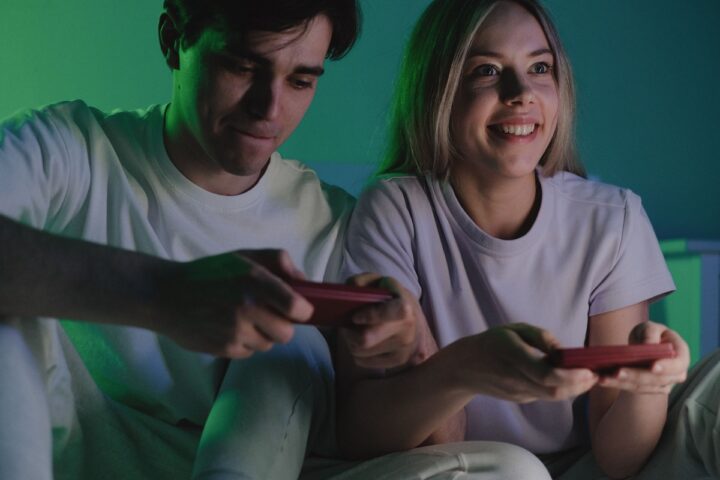
For local multiplayer, connect and test each controller separately, then join the actual game mode together. Check player assignments before beginning a long session. Two devices working individually does not prove that a particular title supports two local players.
Diagnose Duplicate Inputs and Disconnections
A double action can come from the input setup, a binding or the game itself. First describe it precisely: does one button move two menu positions, does a press repeat, or does a second player appear unexpectedly? Reproducing that action is more useful than calling the whole controller incompatible.
Check for overlapping remapping configurations and return to one supported input route for the comparison. Then test the same action in another controller-supported game. If the issue follows the device everywhere, investigate the device; if it stays with one title, investigate that title’s configuration.
For a disconnect, note the time, battery state and connection mode. Compare a direct supported USB connection with the wireless setup if available. Test another suitable cable or port one at a time. Avoid changing firmware, game bindings and wireless hardware during the same comparison.
When asking for help, provide the controller model, PC operating system, game, connection type and steps that reproduce the symptom. Add whether Steam Input or another remapping tool is involved. Do not include account passwords or pairing information unrelated to the problem.
Choose Upgrades Around Comfort and Use
Before replacing a controller, decide which issue a new one should address. Hand comfort, button reach, accessibility, battery management and the games you play are useful criteria. An extra feature only helps when the relevant game and connection support it and you intend to use it.
Spend time with the grip and commonly used combinations. A pad that feels fine for five minutes may place an awkward button where your game expects frequent presses. Check return terms and test a normal session before committing to a collection of additional accessories.
If the game looks slow to respond, separate control setup from display and rendering issues. We explained the difference between frame rate, refresh rate and display latency in our monitor guide. A controller change should solve an identified controller problem.
Updated October 24, 2026: We reviewed the manufacturer and Valve references and added a portable-use check: verify the handheld or dock’s connection options before assuming the desktop setup transfers unchanged. We covered those device considerations in our October handheld guide. That later link is part of this update.